Crafting Conversations with Ollama-WebUI: Your Server, Your Rules
Empower your server with Ollama-WebUI—where conversations become an art. This guide unveils the steps to customize and deploy for a tailored conversational masterpiece.

Introduction
Enhance your conversational AI experience with Ollama-WebUI—a powerful web interface for Ollama that combines intuitive design with robust features. This guide will walk you through the deployment process, ensuring a seamless setup on your own server.

Features
Ollama-WebUI boasts a range of features designed to elevate your conversational AI interactions:
- Intuitive Interface: Inspired by ChatGPT for a user-friendly experience.
- Responsive Design: Seamlessly usable on desktop and mobile devices.
- Swift Responsiveness: Enjoy fast and responsive performance.
- Effortless Setup: Hassle-free installation using Docker.
- Code Syntax Highlighting: Enhanced code readability.
- Full Markdown and LaTeX Support: Comprehensive formatting capabilities.
- Download/Delete Models: Manage models directly from the web UI.
- Multiple Model Support: Switch between different chat models.
- Many Models Conversations: Engage with various models simultaneously.
- OpenAI Model Integration: Utilize OpenAI models alongside Ollama.
- Regeneration History Access: Revisit and explore your entire regeneration history.
- Chat History: Access and manage your conversation history.
- Import/Export Chat History: Move chat data in and out of the platform.
- Voice Input Support: Interact with models through voice; send voice input automatically after 3 seconds of silence.
- Fine-Tuned Control with Advanced Parameters: Adjust parameters for a tailored conversation.
- Auth Header Support: Enhance security with Authorization headers.
- External Ollama Server Connection: Link to an external Ollama server hosted on a different address.
- Backend Reverse Proxy Support: Strengthen security with direct communication between Ollama Web UI backend and Ollama.
 jmorgancaollama-webui
Deployment Steps
Installing Both Ollama and Ollama Web UI Using Docker Compose
If you don't have Ollama installed yet, follow these steps:
-
Clone the repository:
git clone https://github.com/ollama-webui/ollama-webui.git cd ollama-webui -
Run Docker Compose:
nano compose.yamlEnsure to modify the
compose.yamlfile for GPU support and expose Ollama API outside the container stack if needed.
Example:
version: '3.8'

services:
  ollama:
    # Uncomment below for GPU support
    # deploy:
    #   resources:
    #     reservations:
    #       devices:
    #         - driver: nvidia
    #           count: 1
    #           capabilities:
    #             - gpu
    volumes:
      - ./ollama:/root/.ollama
    # Uncomment below to expose Ollama API outside the container stack
    # ports:
    #   - 11434:11434
    container_name: ollama
    pull_policy: always
    tty: true
    restart: unless-stopped
    image: ollama/ollama:latest


  # Uncomment below for WIP: Auth support
  # ollama-webui-db:
  #   image: mongo
  #   container_name: ollama-webui-db
  #   restart: always
  #   # Make sure to change the username/password!
  #   environment:
  #     MONGO_INITDB_ROOT_USERNAME: root
  #     MONGO_INITDB_ROOT_PASSWORD: example

  ollama-webui:
#    build:
#      context: .
#      args:
#        OLLAMA_API_BASE_URL: '/ollama/api'
#      dockerfile: Dockerfile
    image: ollama-webui:latest
    container_name: ollama-webui
    depends_on:
      - ollama
      # Uncomment below for WIP: Auth support
      # - ollama-webui-db
    ports:
      - 127.0.0.1:3000:8080
    environment:
      - "OLLAMA_API_BASE_URL=http://ollama:11434/api"
      # Uncomment below for WIP: Auth support
      # - "WEBUI_AUTH=TRUE"
      # - "WEBUI_DB_URL=mongodb://root:example@ollama-webui-db:27017/"
      # - "WEBUI_JWT_SECRET_KEY=SECRET_KEY"
    extra_hosts:
      - host.docker.internal:host-gateway
    restart: unless-stopped
- Access the web UI at localhost:3000.
Now you can stop the container and comment out the “build” block incompose.yaml
Configuring Nginx
-
Add user authentication via
.htpasswd:sudo htpasswd -c /etc/nginx/.htpasswd username -
Open the Nginx configuration file:
sudo nano /etc/nginx/conf.d/ollama.conf -
Edit ollama.conf
Example:
server {
        listen 80;
        server_name ollama.example.com;
        if ($host = ollama.example.com) {
                return 301 https://$host$request_uri;
        }
        return 404;
}

server {
  listen 443 ssl http2;

  ssl_certificate       /your/path/fullchain.pem;
  ssl_certificate_key   /your/path/privkey.pem;
  ssl_session_timeout 1d;
  ssl_session_cache shared:MozSSL:10m;
  ssl_session_tickets off;

  client_max_body_size 10G;

  ssl_protocols         TLSv1.2 TLSv1.3;
  ssl_ciphers           ECDHE-ECDSA-AES128-GCM-SHA256:ECDHE-RSA-AES128-GCM-SHA256:ECDHE-ECDSA-AES256-GCM-SHA384:ECDHE-RSA-AES256-GCM-SHA384:ECDHE-ECDSA-CHACHA20-POLY1305:ECDHE-RSA-CHACHA20-POLY1305:DHE-RSA-AES128-GCM-SHA256:DHE-RSA-AES256-GCM-SHA384;

  ssl_prefer_server_ciphers off;

  server_name           ollama.example.com;
    add_header Content-Security-Policy upgrade-insecure-requests;
  location / {
#   Set the path to your password file
    auth_basic "Restricted Access";
    auth_basic_user_file /etc/nginx/.htpasswd;
    proxy_redirect off;
    proxy_pass http://127.0.0.1:3000;
    proxy_http_version 1.1;
    proxy_set_header Upgrade $http_upgrade;
    proxy_set_header Connection "upgrade";
    proxy_set_header Host $host;
    proxy_set_header X-Real-IP $remote_addr;
    proxy_set_header X-Forwarded-For $proxy_add_x_forwarded_for;
    proxy_next_upstream off;
  }
}
-
Bring up the container:
sudo docker compose up -d -
Restart Nginx:
sudo systemctl restart nginx
Now, your Ollama-WebUI is deployed and secured with Nginx. Enjoy a feature-rich conversational AI experience on your own server!
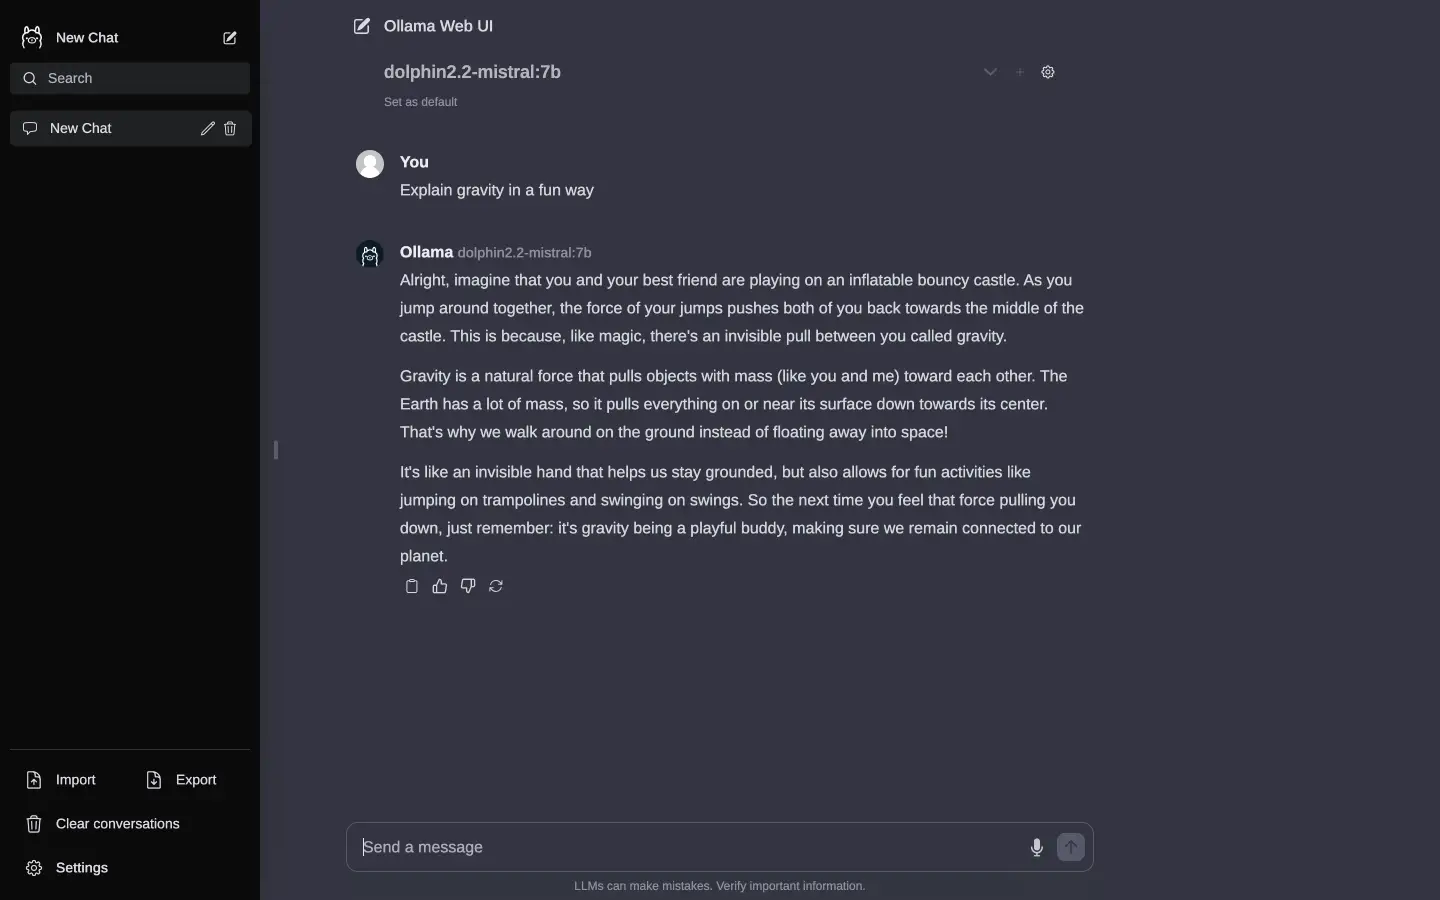
Demo:
Copyright statement: Unless otherwise stated, all articles on this blog adopt the CC BY-NC-SA 4.0 license agreement. For non-commercial reprints and citations, please indicate the author: Henry, and original article URL. For commercial reprints, please contact the author for authorization.