Host Your Own Map Server with OpenStreetMap
Open geographic database

1. Background
OpenStreetMap (OSM) is a free, open geographic database updated and maintained by a community of volunteers via open collaboration. Contributors collect data from surveys, trace from aerial imagery and also import from other freely licensed geodata sources. OpenStreetMap is freely licensed under the Open Database License and as a result commonly used to make electronic maps, inform turn-by-turn navigation, assist in humanitarian aid and data visualization. OpenStreetMap uses its own topology to store geographical features which can then be exported into other GIS file formats. The OpenStreetMap website itself is an online map, geodata search engine and editor.
In this article, I will introduce you the deployment of OpenStreetMap Tile Server via Docker.
2. Before You Go
Important!!!
Important!!!
Important!!!
System requirement is crucial to OpenStreetMap Tile Server. For example, just for testing purposes, if you want to host the map of Taiwan, a minimum 4 core CPU, 8g RAM, 50G+ disk space is required. Even with those specs, it will still take quite a lot of time to render the tiles.
If you want to have it globally:
Tile rendering servers are operated by the OSMF. Basic requirements for a render node:
- Dedicated Server (or an exceptionally fast VM)
- 192+ GB RAM (at least; better 256 GB);
- 16 or more CPU cores (32+ threads, CPU year 2016 or newer eg: 2x Xeon E5-2620 v4). 64+ threads and newer CPU strongly preferred;
- Storage: 1.92 TB SSD/NVMe for database, 1.92 TB SSD for storing tiles; All NVMe preferred.
Fast network connection with high usage or unlimited traffic (at least 25 TB/month and 100 Mbps peak); - Full root/sudo access (Remote Management beneficial eg: HP Integrated Lights-Out); and
- Ubuntu 22.04 LTS
Dedicated hardware is preferred, but VMs are acceptable if their performance is sufficient. Containers (e.g. OpenVz, LXC) do not meet the requirements.
3. OpenStreetMap
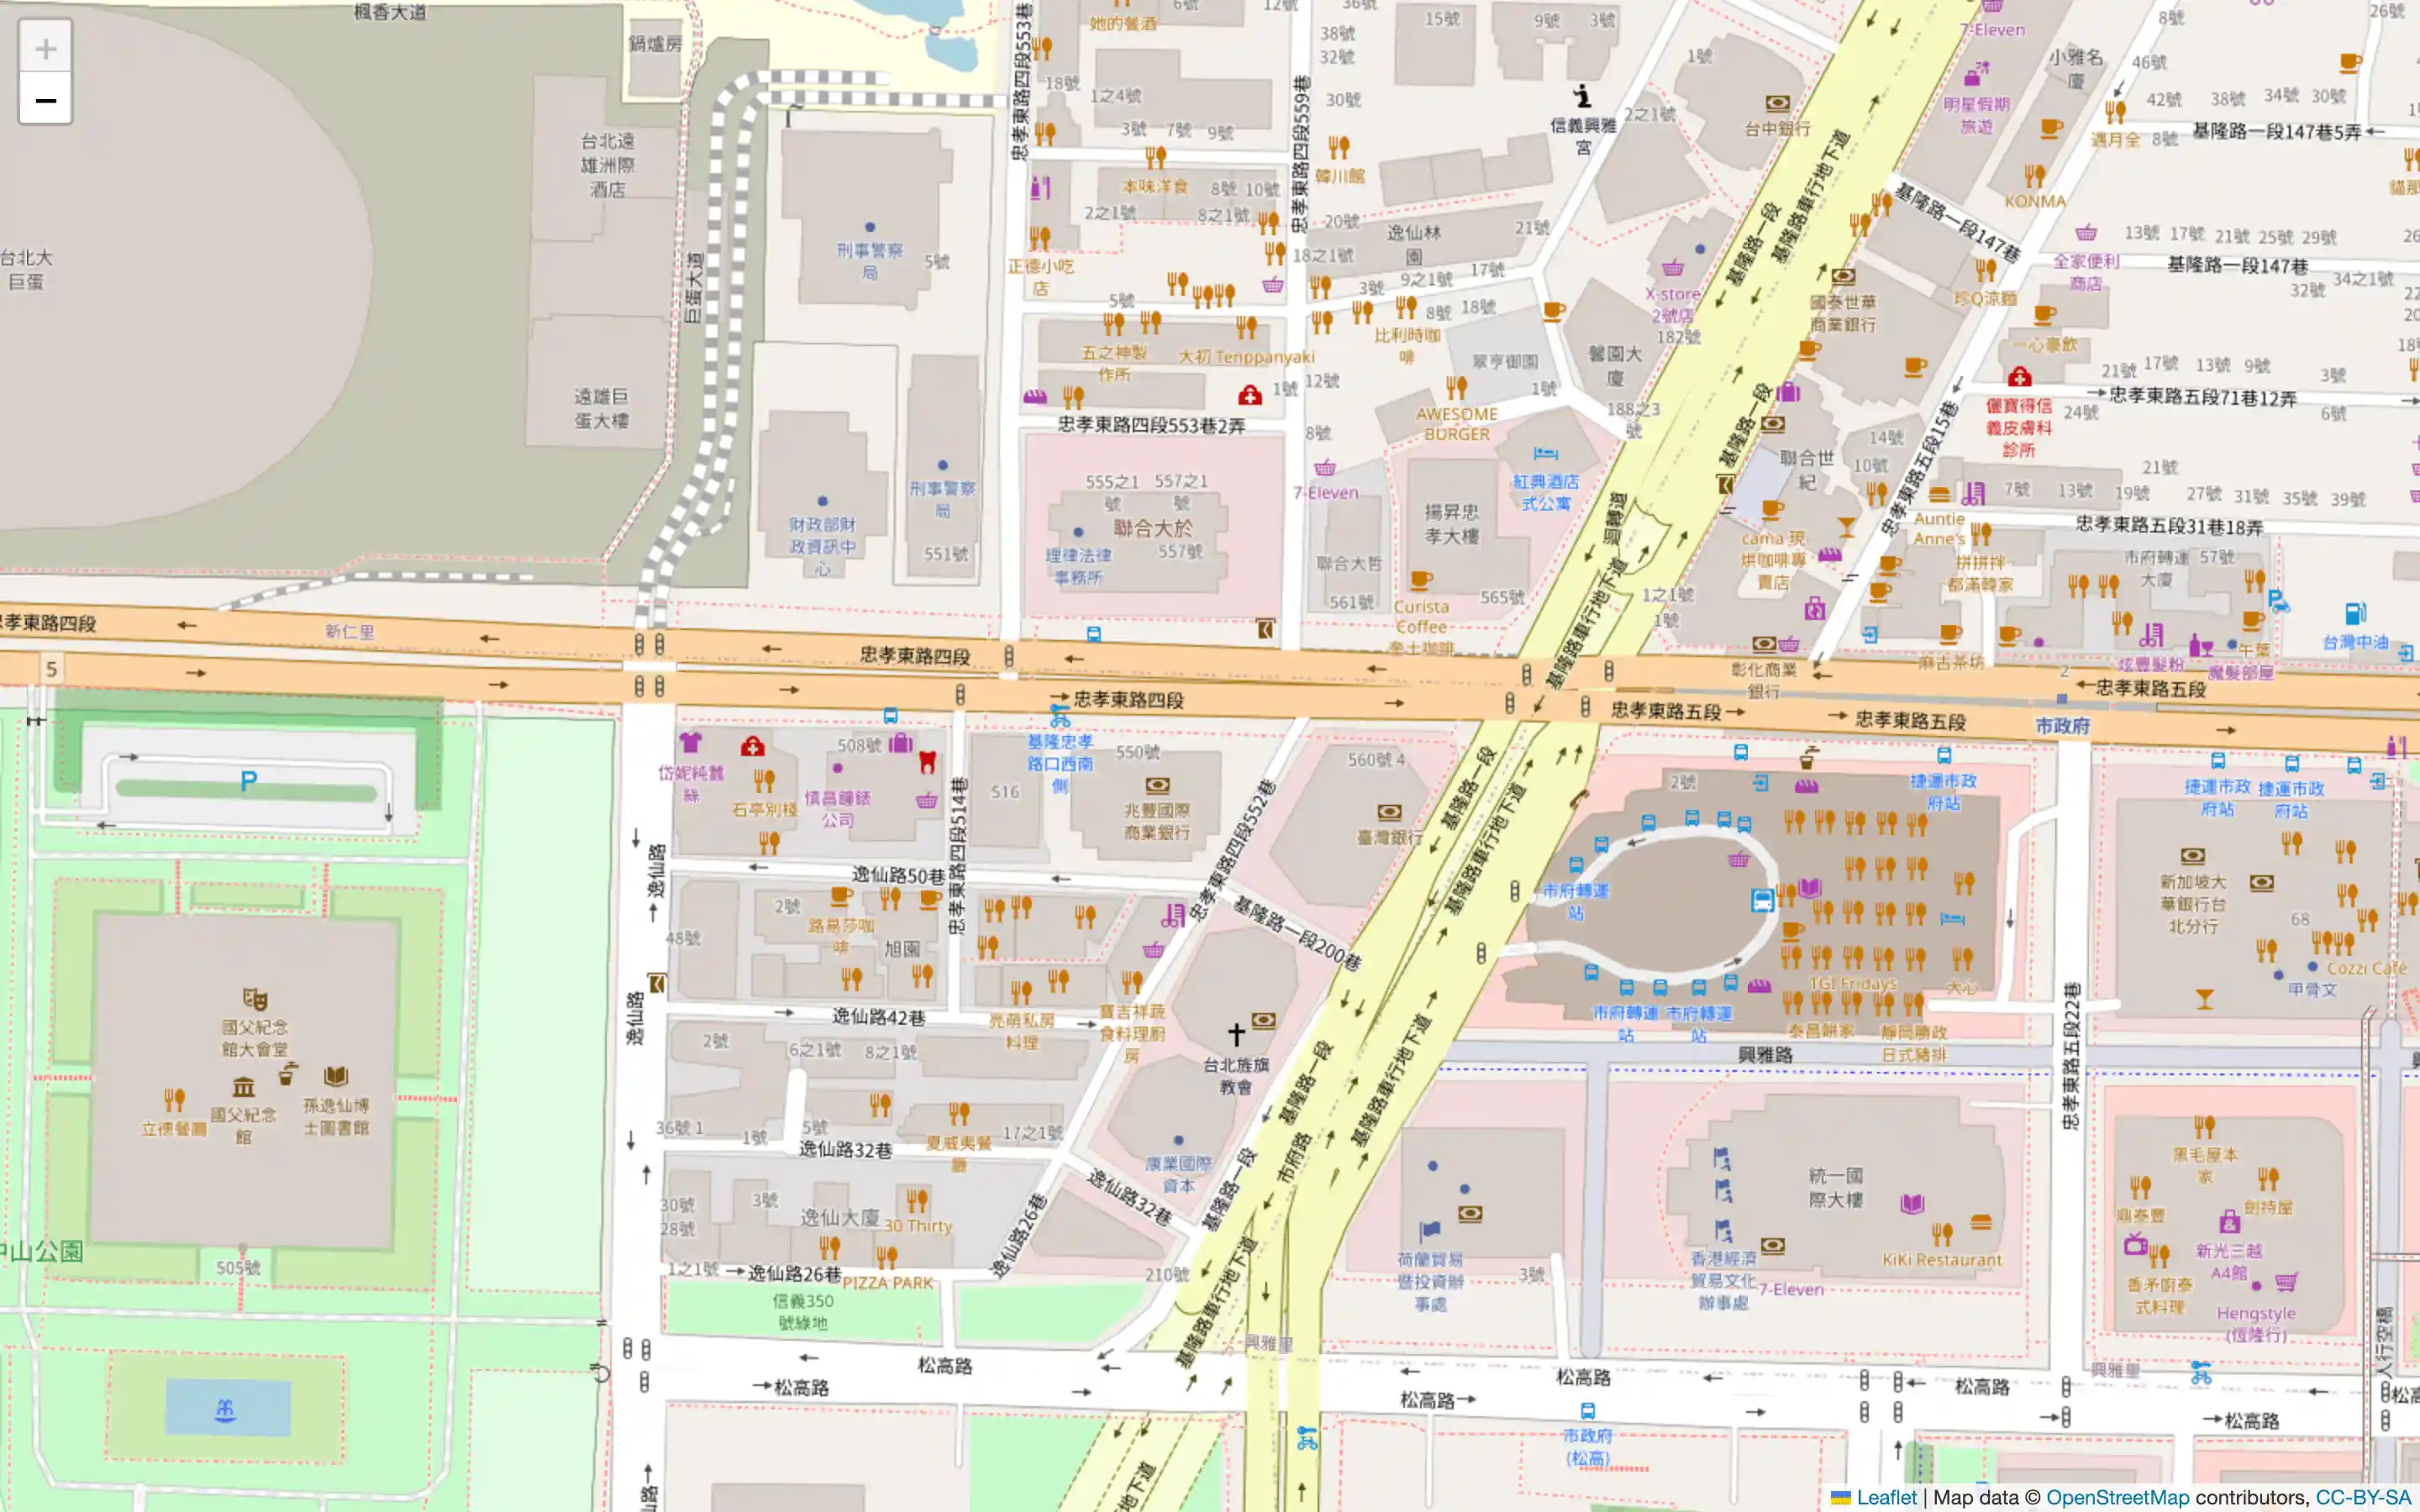
Due to limited hardware resources, I will only demonstrate the process of hosting Taiwan map in this article. You can choose your preferred countries, even global if you want.
The region data can be found at: GEOFABRIK
- Prerequisites
apt -y update
apt -y install curl nginx python3-certbot-nginx
curl -fsSL https://get.docker.com -o get-docker.sh
sh get-docker.sh
- Create OSM directory and docker-compose file
mkdir osm && cd osm
nano docker-compose.yml
version: '3.8'

services:
  map:
    image: overv/openstreetmap-tile-server:latest
    volumes:
      - ./osm-data:/data/database/
      - ./osm-tiles:/data/tiles/
    ports:
      - "127.0.0.1:33333:80"
    command: "run"

volumes:
  osm-data:
    external: true
  osm-tiles:
    external: true
- Download an
.osm.pbfextract from geofabrik.de for the region that you're interested in. You can then start importing it into PostgreSQL by running a container and mounting the file as /data/region.osm.pbf
wget https://download.geofabrik.de/asia/taiwan-latest.osm.pbf
docker run \
    -v /your/path/osm/taiwan-latest.osm.pbf:/data/region.osm.pbf \
    -v /your/path/osm/osm-data:/data/database/ \
    overv/openstreetmap-tile-server:latest \
    import
Note: This step may take very long depending on the region(s) you import.
If the container exits without errors, then your data has been successfully imported and you are now ready to run the tile server.
Note that the import process requires an internet connection. The run process does not require an internet connection. If you want to run the openstreetmap-tile server on a computer that is isolated, you must first import on an internet connected computer, export the osm-data volume as a tarfile, and then restore the data volume on the target computer system.
- Bring up the container
docker compose up -d
4. Nginx Configuration
- Create Nginx config file for PhotoPrism
nano /etc/nginx/conf.d/openstreetmap.conf
server {
    listen 80;
    server_name map.example.com;
    client_max_body_size 0;

    location / {
        proxy_pass http://127.0.0.1:33333;
        proxy_buffering off;
        proxy_http_version 1.1;
        proxy_set_header Upgrade $http_upgrade;
        proxy_set_header Connection "Upgrade";
        proxy_set_header Host $host;
        proxy_set_header X-Forwarded-For $proxy_add_x_forwarded_for;
    }
}
- Issue SSL cert
certbot -–nginx
- Restart Nginx
nginx -t
systemctl restart nginx
Copyright statement: Unless otherwise stated, all articles on this blog adopt the CC BY-NC-SA 4.0 license agreement. For non-commercial reprints and citations, please indicate the author: Henry, and original article URL. For commercial reprints, please contact the author for authorization.