JumpServer - A Bastion Host in Multi-Cloud Environment
A professional operation and maintenance security audit system that complies with 4A specifications

1. Background
JumpServer is a system on a network used to access and manage devices in a separate security zone. It’s a hardened and monitored device that spans two dissimilar security zones and provides a controlled means of access between them.
Official Repo: JumpServer
2. JumpServer Setup
- Prerequisites
apt -y update
apt -y install curl nginx python3-certbot-nginx
curl -fsSL https://get.docker.com -o get-docker.sh
sh get-docker.sh
- Clone the repo
cd /your/path
git clone --depth=1 https://github.com/jumpserver/Dockerfile.git
- Edit .env file
mv Dockerfile jumpserver
cd jumpserver
cp config_example.conf .env
nano .env
In this case, since I’d like to use Nginx reverse proxy, I will not expose localhost port 80 directly. Instead, I will have it mapped to another port.
HTTP_PORT=33333
Note: Make sure to allow firewall on ports 80, 443, 2222
- Initial DB
docker compose -f docker-compose-network.yml -f docker-compose-redis.yml -f docker-compose-mariadb.yml -f docker-compose-init-db.yml up -d
- Upgrade DB
docker exec -i jms_core bash -c './jms upgrade_db'
- Bring up the container
docker compose -f docker-compose-network.yml -f docker-compose-redis.yml -f docker-compose-mariadb.yml -f docker-compose.yml up -d
Now you have finished setting up JumpServer. The service is now running on localhost:33333 and the persistent volume is on /opt/jumpserver.
3. Nginx Setup
- Create Nginx conf file for JumpServer
nano /etc/nginx/conf.d/jumpserver.conf
server {
    listen 80;
    server_name jumpserver.example.com;
    client_max_body_size 0;

    location / {
        proxy_pass http://127.0.0.1:33333;
        proxy_buffering off;
        proxy_http_version 1.1;
        proxy_set_header Upgrade $http_upgrade;
        proxy_set_header Connection "Upgrade";
        proxy_set_header Host $host;
        proxy_set_header X-Forwarded-For $proxy_add_x_forwarded_for;
    }
}
- Issue SSL cert
certbot --nginx
Restart Nginx
nginx -t
systemctl restart nginx
4. Post Setups
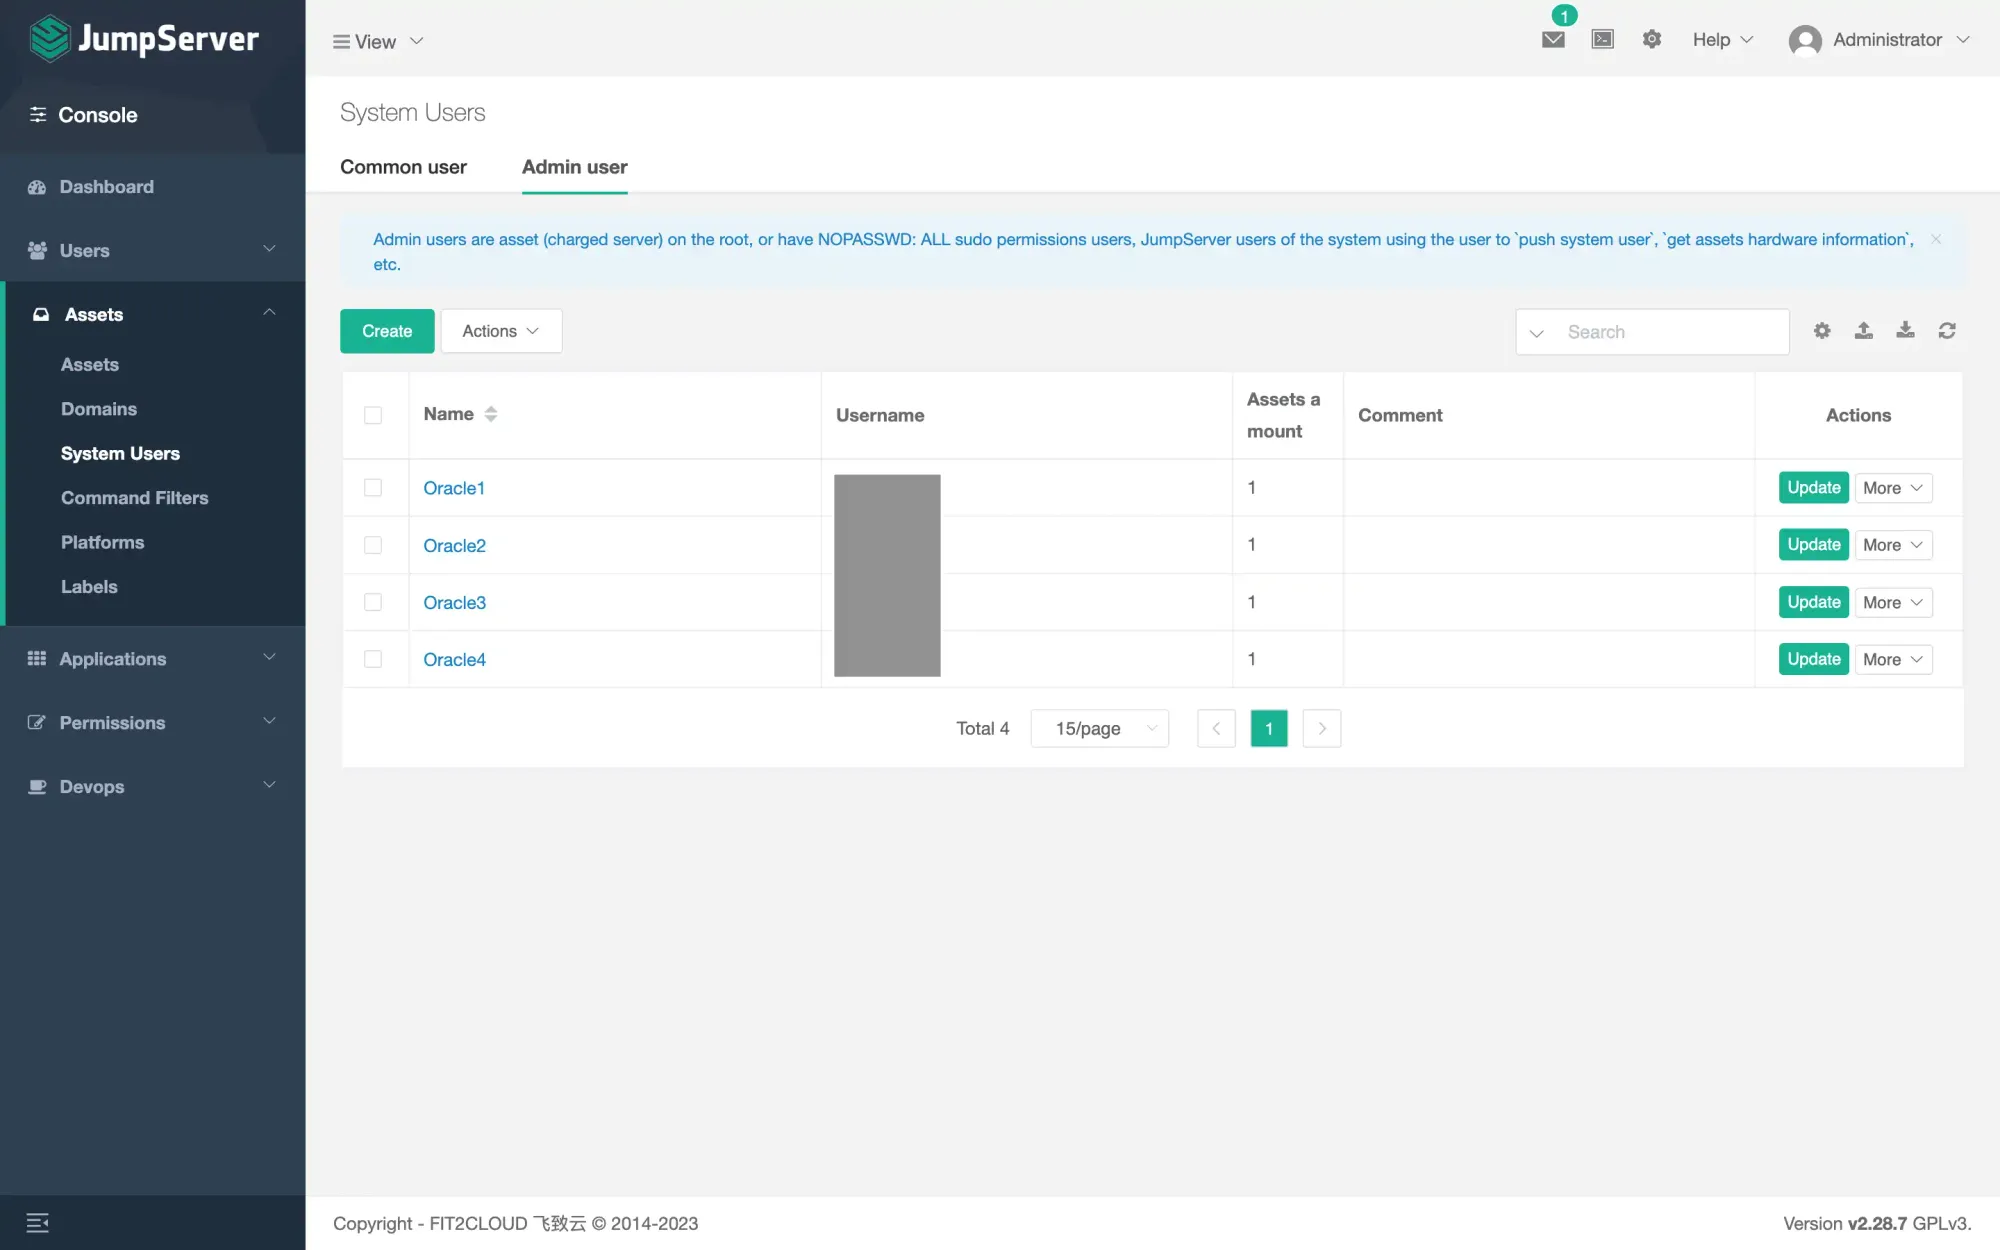
- The default admin credential is
admin/admin. Change it immediately once you login. - Create System Users - Admin User. Username and credential (keyfile) matches the credential of the remote server you want to login.
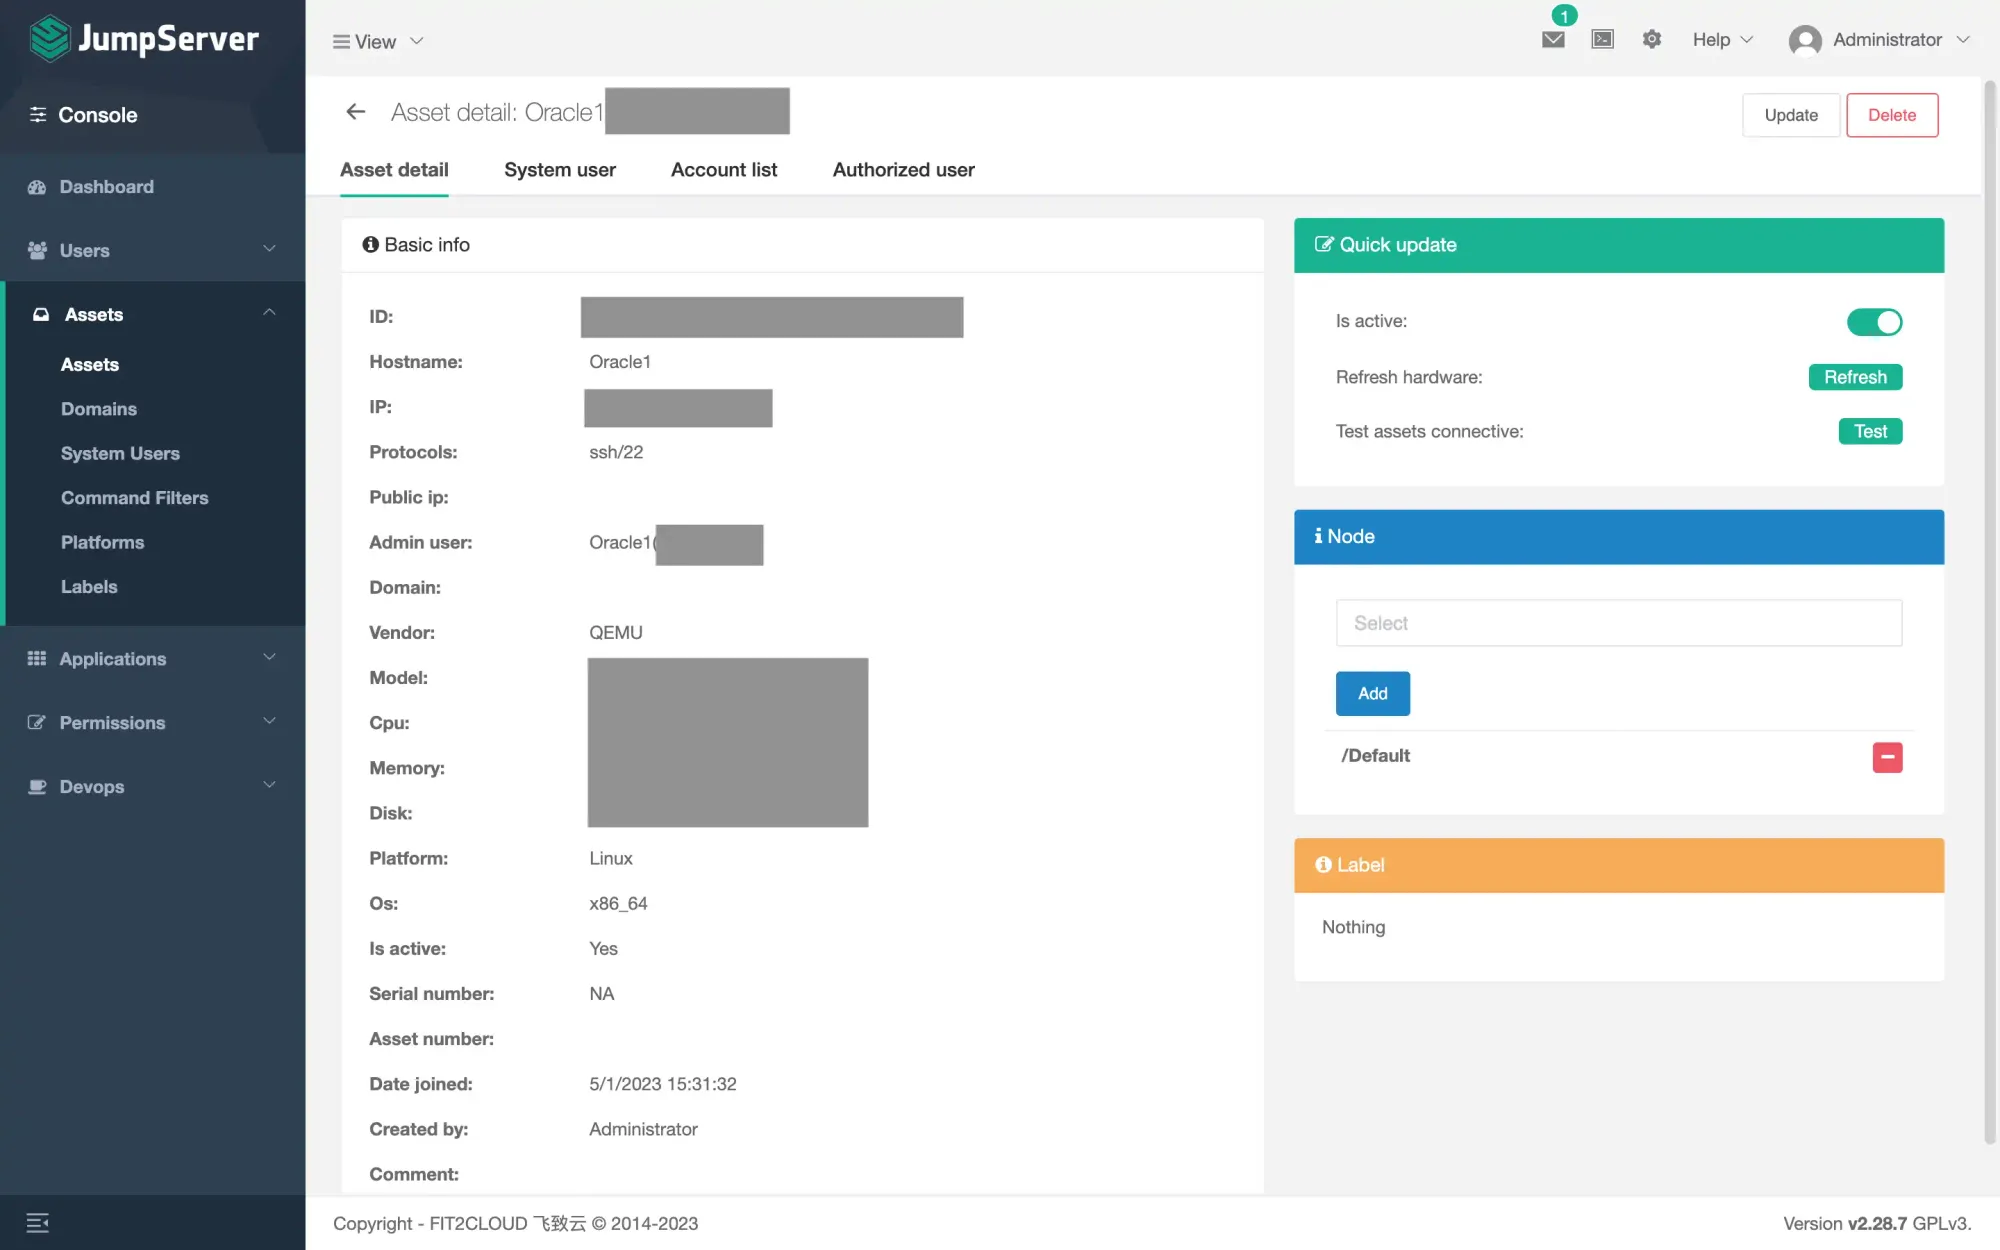
- Add Assets. Choose the Admin User you just created last step as the Admin User under Auth.
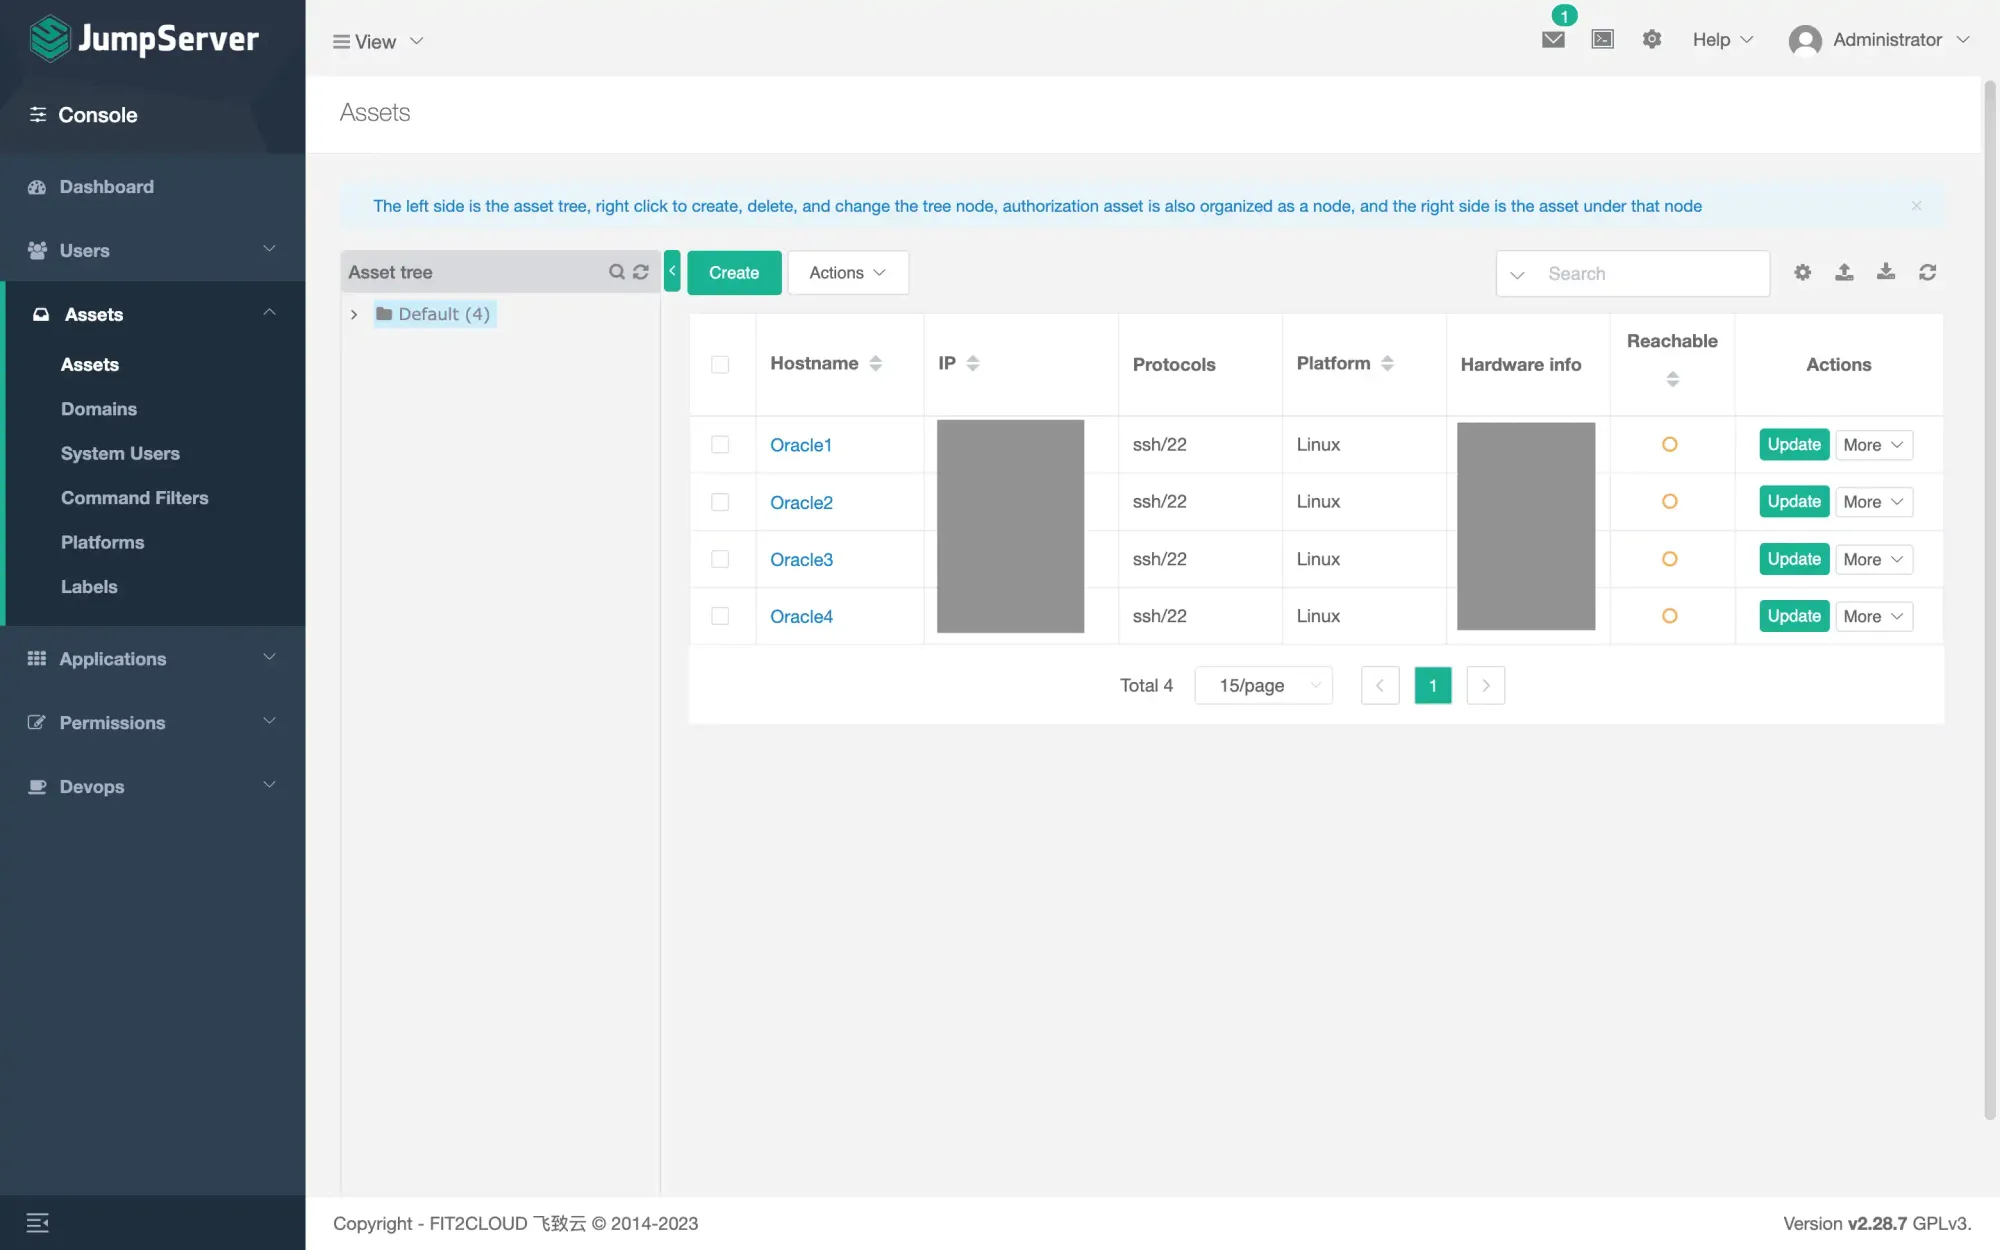
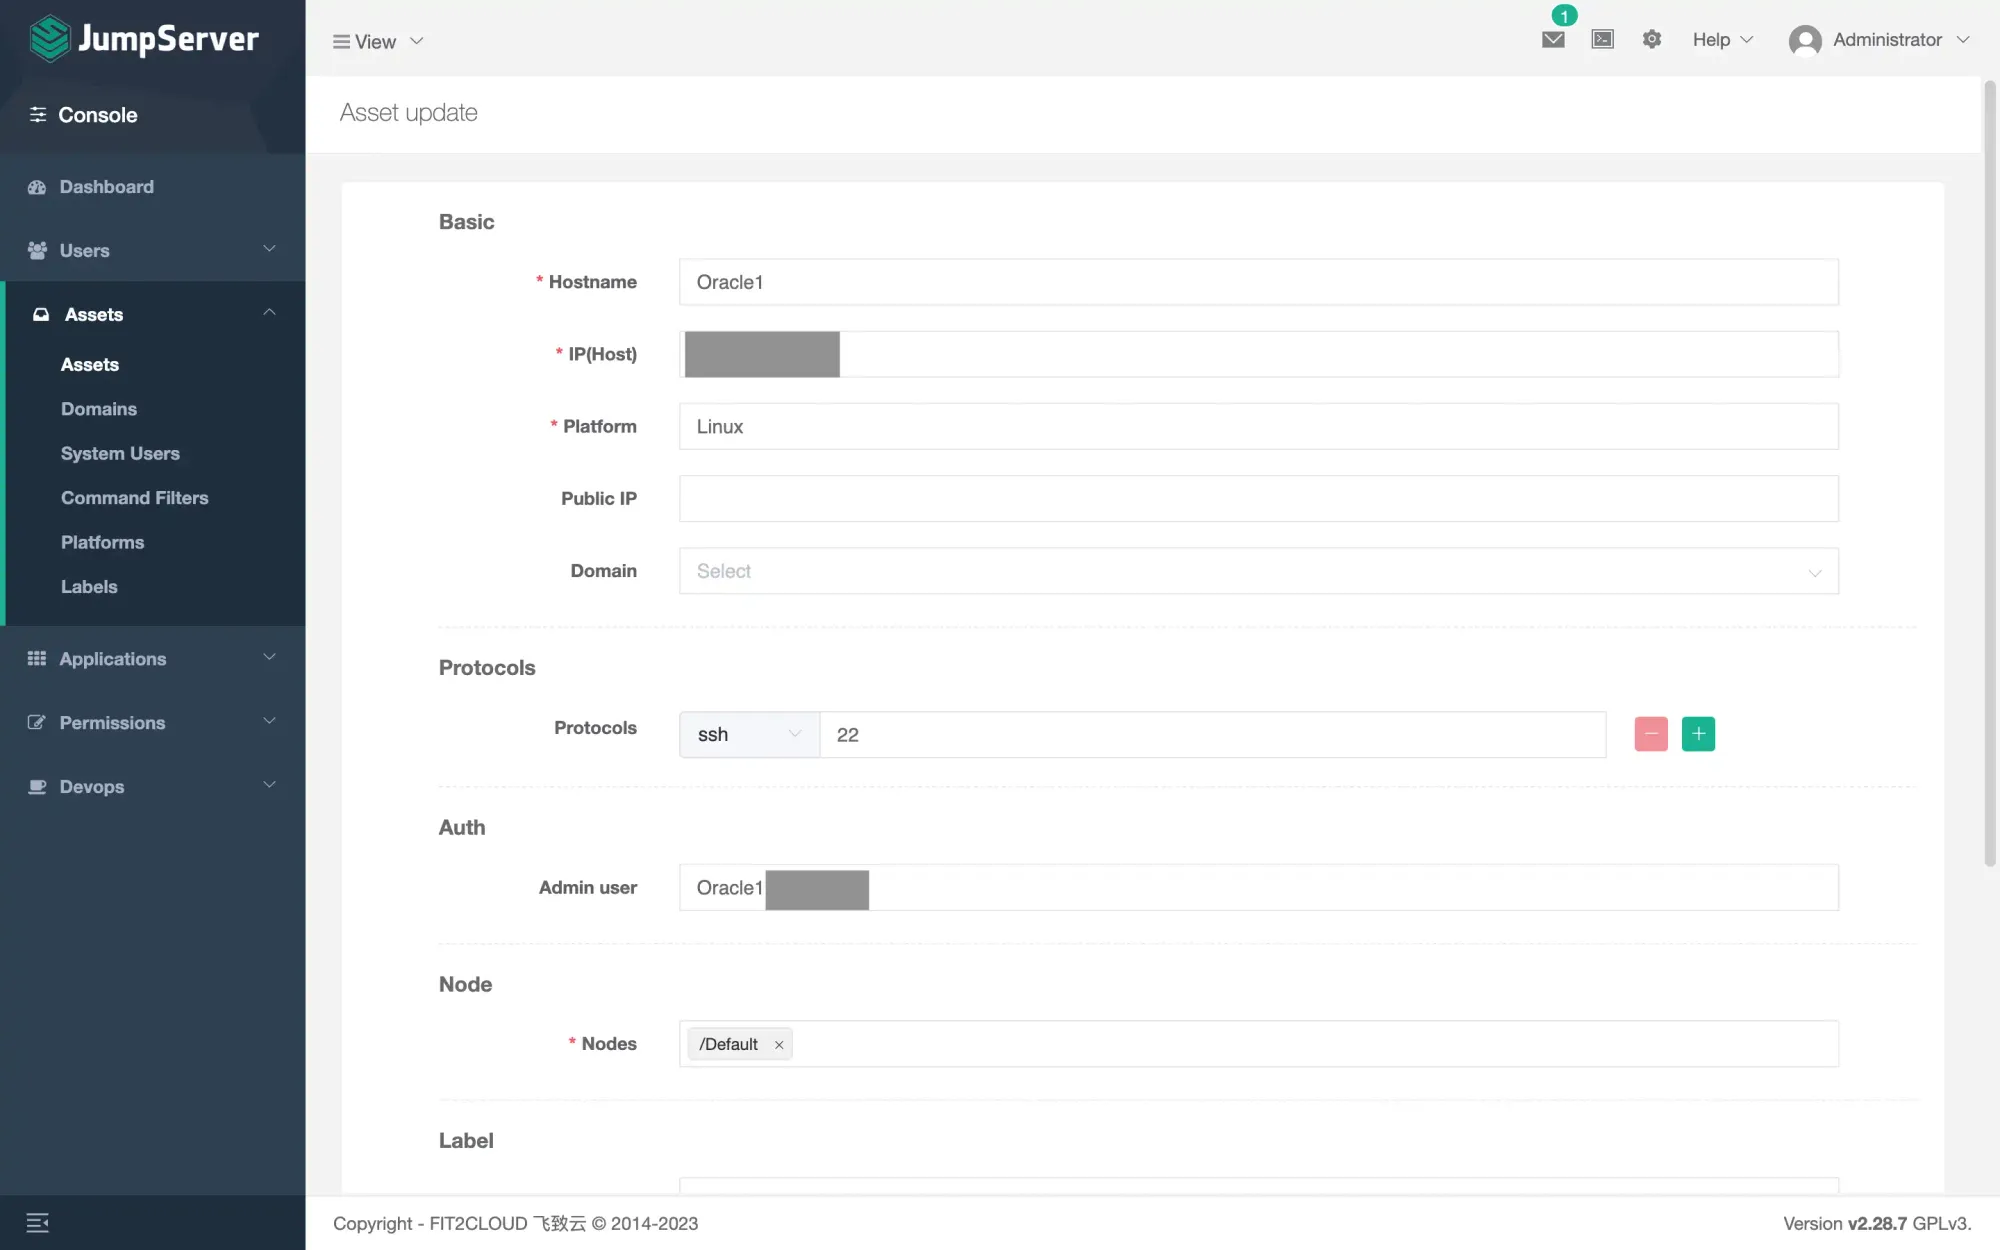
- After that, you can have a brief review of the remote server.
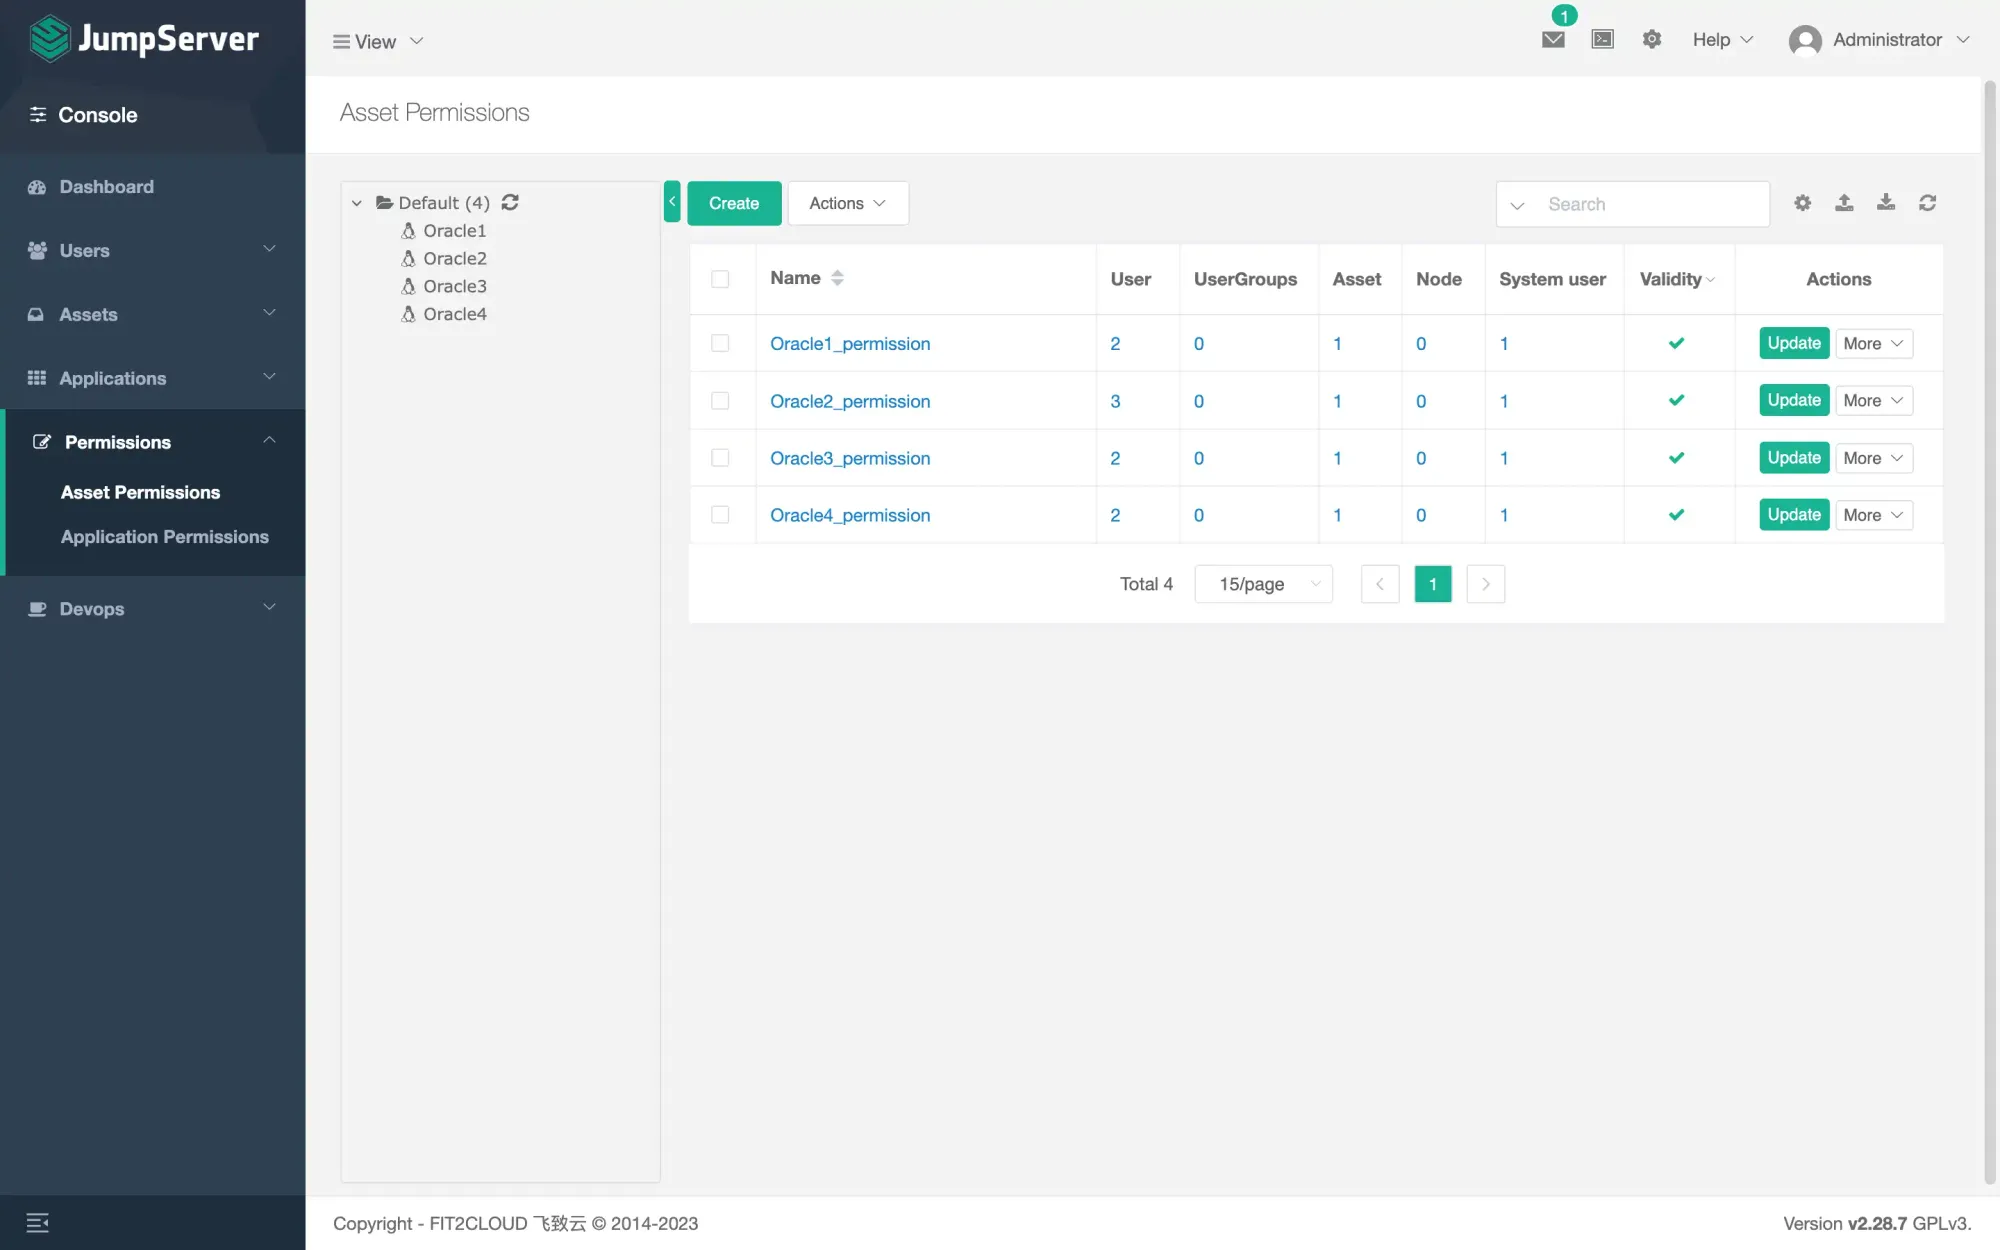
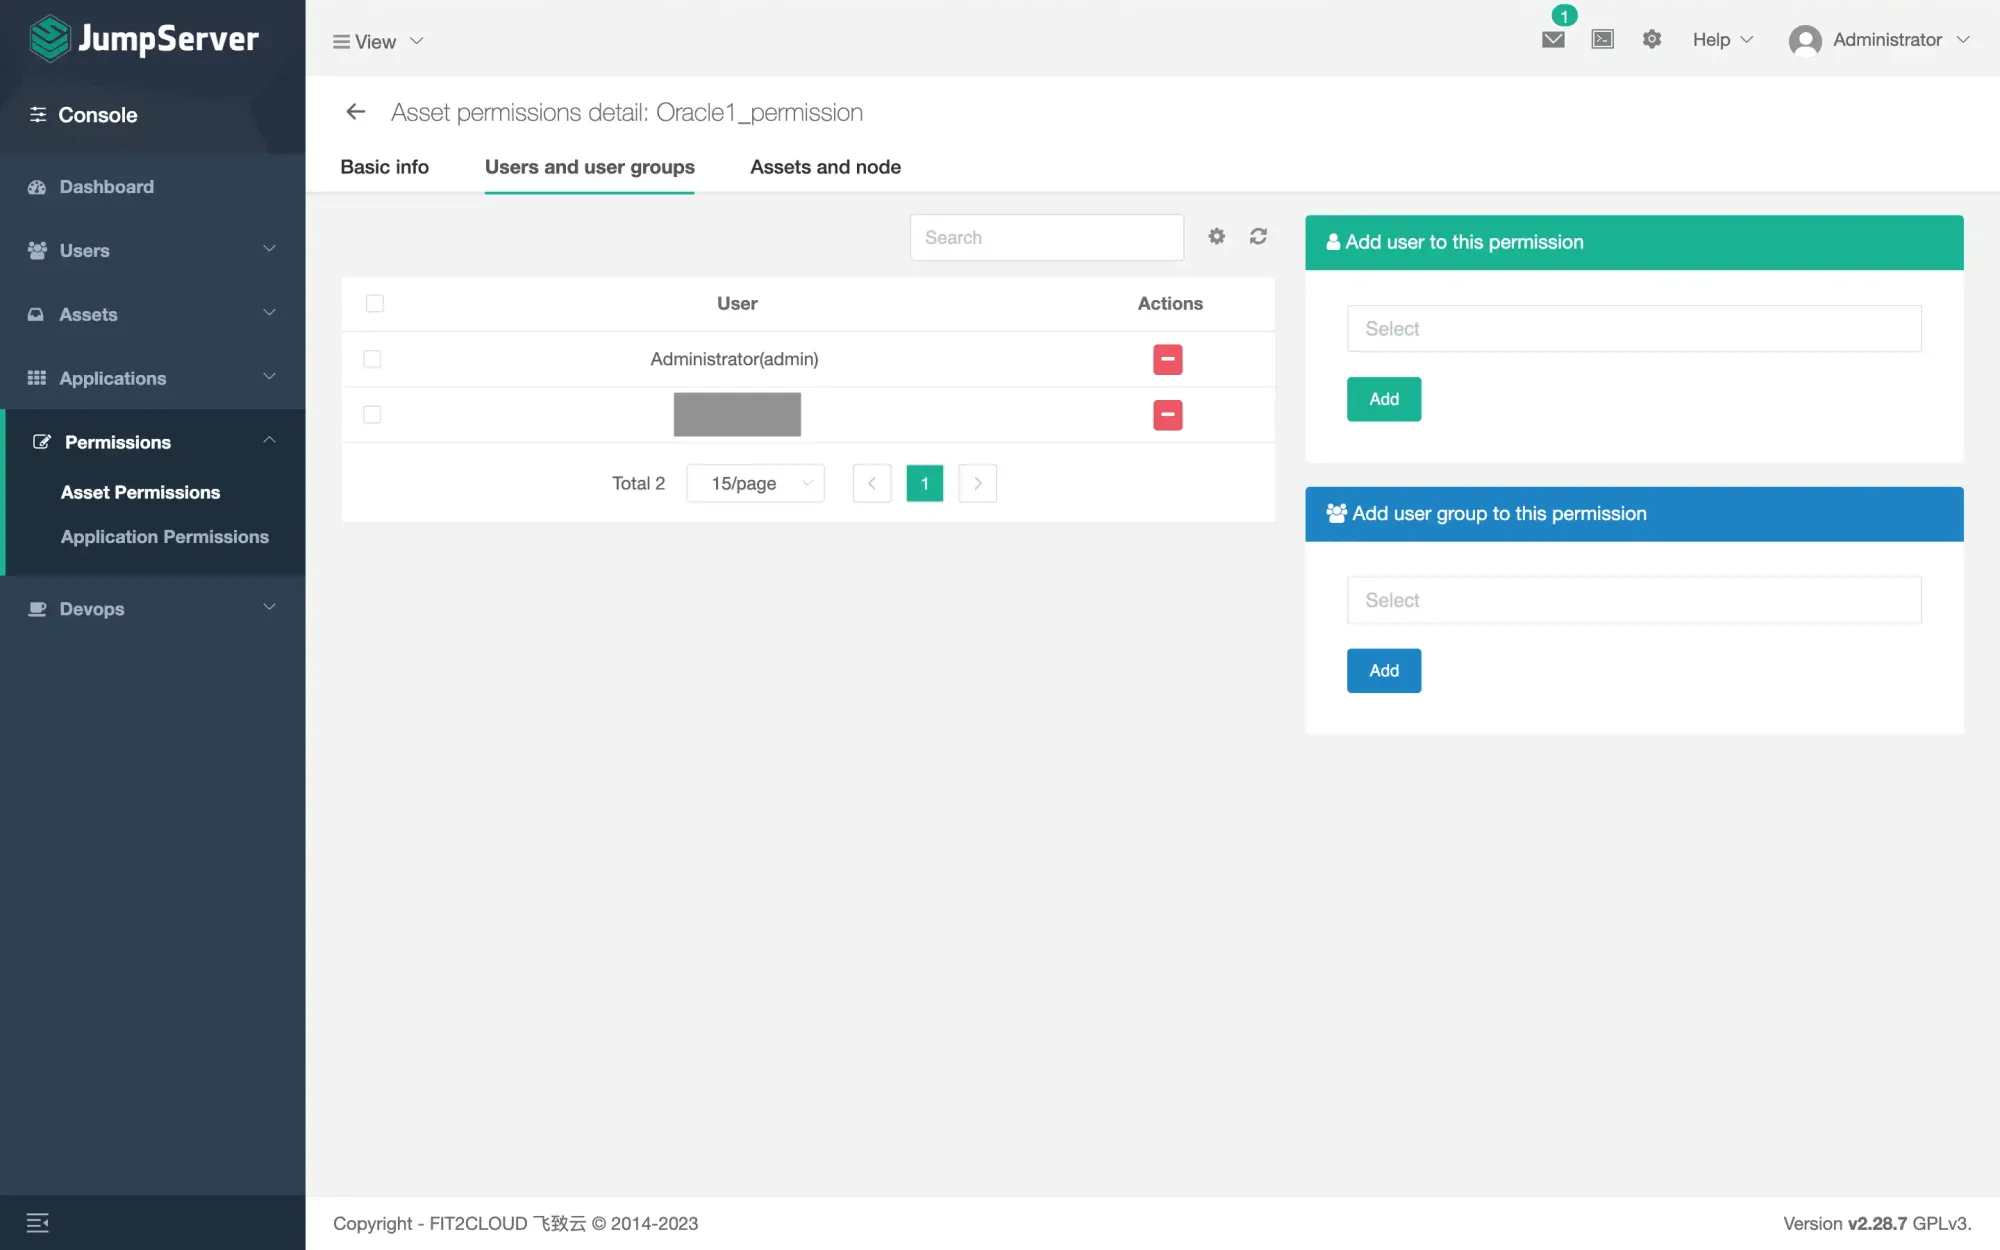
- Add Permissions (You may want to create some non-admin user under Users - Users, for regular login). You can add permission either by user or by group
- Now you can login as a common user and check the assets. Then login to your remote server.
Copyright statement: Unless otherwise stated, all articles on this blog adopt the CC BY-NC-SA 4.0 license agreement. For non-commercial reprints and citations, please indicate the author: Henry, and original article URL. For commercial reprints, please contact the author for authorization.