OwnCast Docker Deployment and Simple User Guide
Beyond Twitch and YouTube: Build Your Dream Streaming Platform with OwnCast


Owncast is an open source, self-hosted, decentralized, single user live video streaming and chat server for running your own live streams similar in style to the large mainstream options.
GitHub - owncast/owncast: Take control over your live stream video by running it yourself. Streaming + chat out of the box.
Take control over your live stream video by running it yourself. Streaming + chat out of the box. - GitHub - owncast/owncast: Take control over your live stream video by running it yourself. Stre…
 owncast
Prerequisites
Important: Allow firewall ports 80, 443, 1935
- Updates
apt update && apt dist-upgrade -y
apt install certbot python3-certbot-nginx nginx
- Set up Docker's apt repository
# Add Docker's official GPG key:
sudo apt-get update
sudo apt-get install ca-certificates curl gnupg
sudo install -m 0755 -d /etc/apt/keyrings
curl -fsSL https://download.docker.com/linux/ubuntu/gpg | sudo gpg --dearmor -o /etc/apt/keyrings/docker.gpg
sudo chmod a+r /etc/apt/keyrings/docker.gpg

# Add the repository to Apt sources:
echo \
  "deb [arch=$(dpkg --print-architecture) signed-by=/etc/apt/keyrings/docker.gpg] https://download.docker.com/linux/ubuntu \
  $(. /etc/os-release && echo "$VERSION_CODENAME") stable" | \
  sudo tee /etc/apt/sources.list.d/docker.list > /dev/null
sudo apt-get update
- Install the latest Docker
sudo apt-get install docker-ce docker-ce-cli containerd.io docker-buildx-plugin docker-compose-plugin
OwnCast Docker Deployment
- Create compose file
mkdir owncast && cd owncast
nano docker-compose.yml
- Edit compose file
version: "3.9"

services:
  owncast:
    image: owncast/owncast:0.1.2  # Check latest version on DockerHub
    volumes:
      - "./data:/app/data"
    ports:
      - 80:8080
      - 1935:1935
    restart: unless-stopped
- Bring up container
docker compose up -d
Nginx Configuration
- Set up conf file
nano /etc/nginx/conf.d/owncast.conf
server {
        listen 80;
        server_name owncast.example.com;
        if ($host = owncast.example.com) {
                return 301 https://$host$request_uri;
        }
        return 404;
}
- Obtain SSL cert
certbot --nginx
- Restart Nginx
nginx -t
systemctl restart nginx
Simple User Guide
- Install OBS. Allow permissions it requires.
Open Broadcaster Software | OBS
OBS (Open Broadcaster Software) is free and open source software for video recording and live streaming. Stream to Twitch, YouTube and many other providers or record your own videos with high quality H264 / AAC encoding.

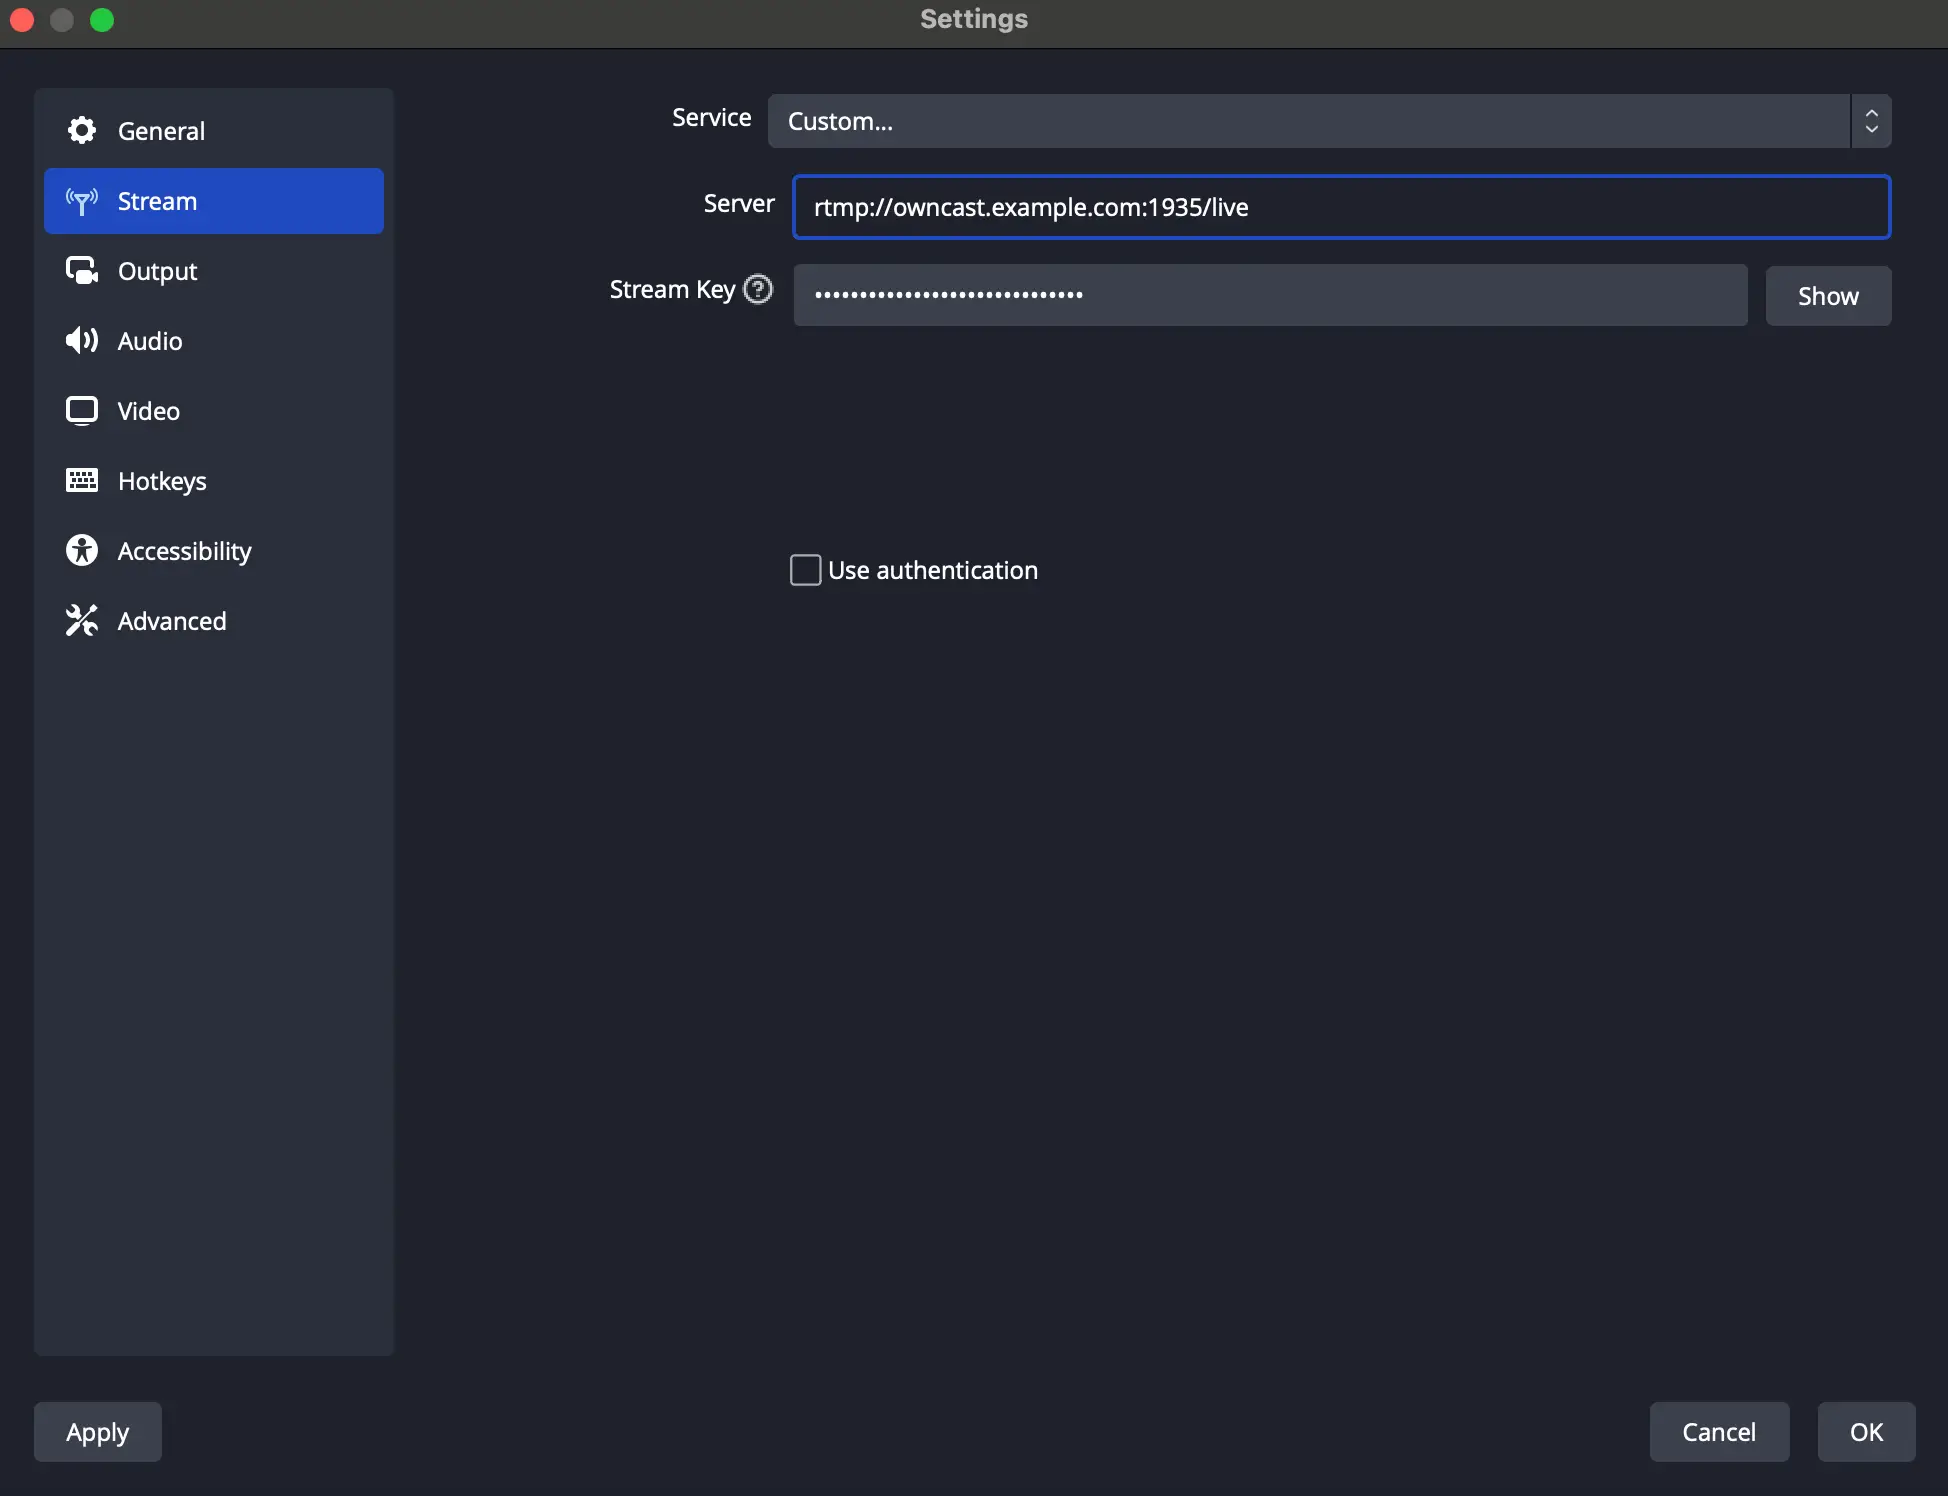
- Go to https://owncast.example.com/admin. The default credential is
admin/abc123. Please change it immediately. - Copy the Streaming URL.
- Revoke the default Stream Key and create a new one.
- In OBS -> Settings -> Stream, fill Server with Streaming URL, and Stream Key. Click Apply.
- Start streaming and enjoy OwnCast + OBS
Copyright statement: Unless otherwise stated, all articles on this blog adopt the CC BY-NC-SA 4.0 license agreement. For non-commercial reprints and citations, please indicate the author: Henry, and original article URL. For commercial reprints, please contact the author for authorization.